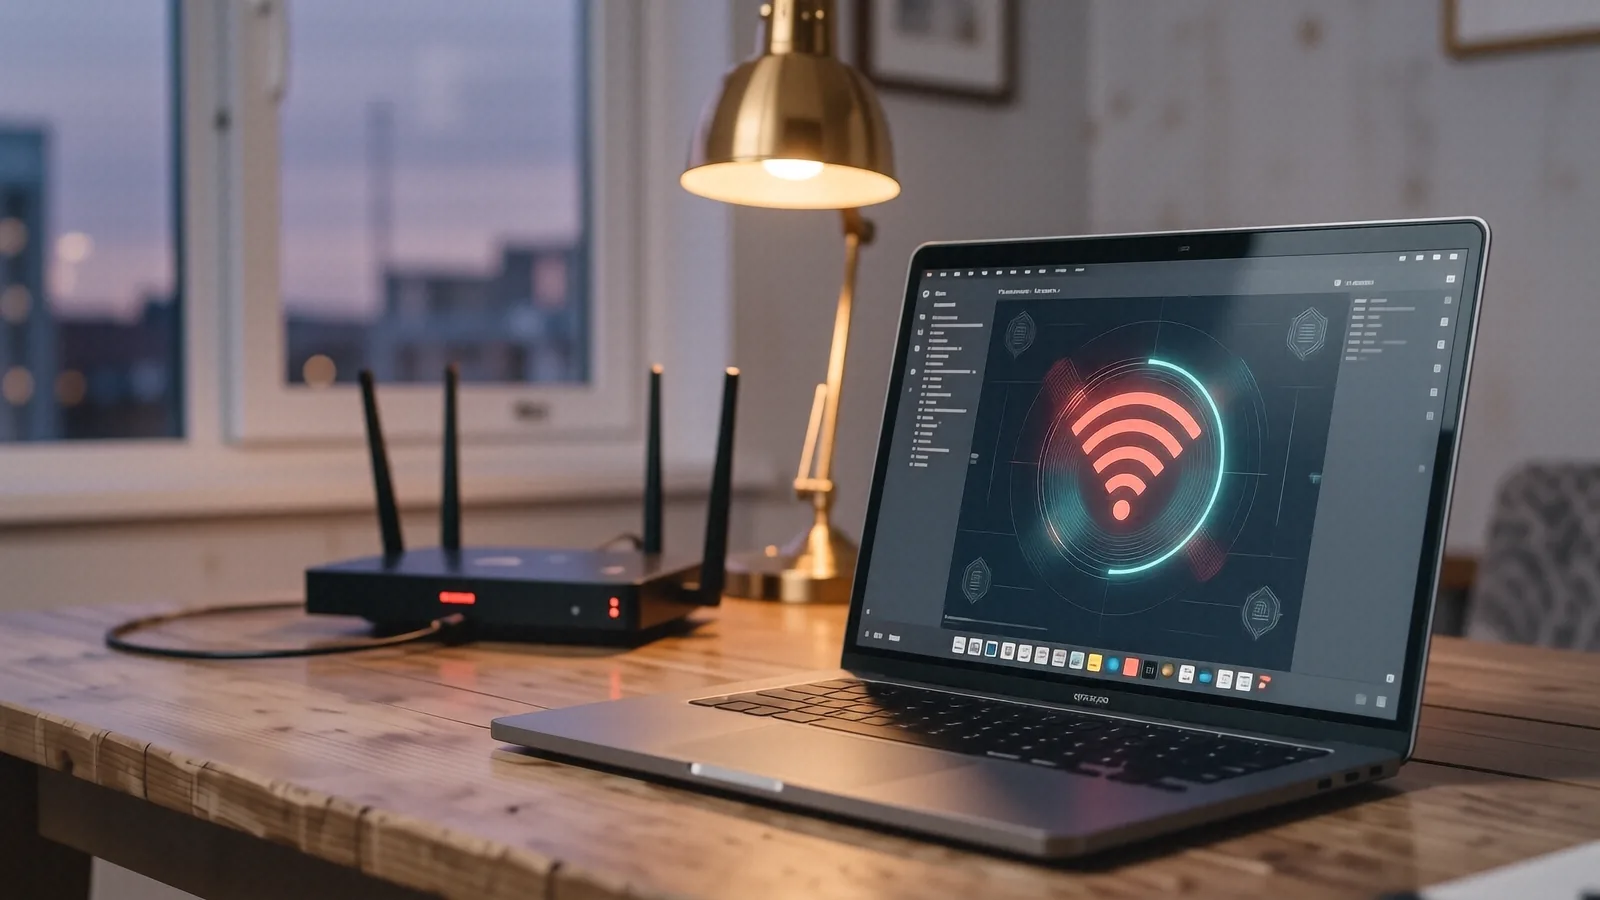
Why your laptop is not able to connect to Wi-Fi
You are sitting down to finish a project on your Dell XPS 13 or perhaps you just want to stream a movie on your MacBook Pro Retina. Suddenly, the internet vanishes. You look at the bottom right of your Windows taskbar or the top right of your macOS menu bar and see that dreaded globe icon or the “No Internet” warning. It feels like the computer is broken.
It usually isn’t. Most of the time, this problem stems from a communication breakdown between your wireless network card and your router. Sometimes it is a simple software glitch that a quick reboot can fix, while other times a driver has become corrupted after a recent Windows Update. We see these connectivity issues every single day here at our shop on N. Main Street. Whether you are using an HP Pavilion 15 or a high-end ASUS ROG gaming laptop, the symptoms often look identical when you try to connect to your network and fail.
Quick checks to fix your Wi-Fi network connection
Before you start digging through deep system menus, check the physical basics. You might have accidentally toggled a hardware switch or a function key on your keyboard that disables all wireless communication. On older HP Pavilion 15 models, there was often a dedicated button with an antenna icon to turn Wi-Fi on and off. If you are using a modern laptop, check if Airplane Mode is enabled.
Check your router first. If your smartphone can connect to the Wi-Fi but your laptop cannot, you know the router is working fine. This narrows the problem down to your specific computer. Unplug your router from the wall outlet, wait 30 seconds, and plug it back in. While you wait for the lights to stabilize, restart your computer as well. A simple reboot of both the modem and the router can resolve many common handshake errors between devices.
Look at your airplane mode settings. It sounds silly, but many users accidentally hit a key combination that puts the device into flight mode. If the icon looks like an airplane, your wireless card is powered down. Toggle it off and see if the networks reappear in your list.
Check for physical obstructions. Large metal objects or thick concrete walls between your computer and the router can kill a signal. If you are using a desktop PC with a PCIe Wi-Fi card, ensure the external antennas are screwed in tight. A loose antenna can cause your signal to drop even when you are sitting right next to the router.
Troubleshooting connectivity issues on Windows 10 and 11
Windows handles networking through a complex stack of drivers and services. When things go wrong, the OS might simply lose track of the hardware. If you are running a modern machine like a Surface Laptop 5, the issue is often software-based rather than hardware failure.
Start by using the built-in troubleshooter. Right-click the network icon in your taskbar and select “Troubleshoot problems.” While this tool isn’t perfect, it can often reset the wireless adapter automatically. If that fails, you should try a DNS flush to clear out old, stale connection data.
Open the Command Prompt as an Administrator. You can do this by typing cmd in the Start menu, right-clicking the result, and selecting “Run as administrator.” Once the black window appears, type the following command exactly: ipconfig /flushdns. Press Enter. This clears your DNS cache, which is helpful if your computer thinks it is connected but cannot actually load any websites.
If you still see no networks, you need to check your Device Manager. Right-click the Start button and select “Device Manager.” Look for the “Network adapters” section and expand it. You should see something like “Intel(R) Wi-Fi 6 AX201” or “Realtek Wireless LAN.” If there is a yellow exclamation mark next to it, the network adapter driver is broken.
Right-click that specific adapter and select “Update driver.” Choose the option to search automatically. If Windows says you have the best driver installed, you might actually need to roll it back. Sometimes a recent update breaks compatibility with older hardware. Select “Properties,” go to the “Driver” tab, and click “Roll Back Driver” if the option is available.
If all else fails, try a network reset. Go to Settings > Network & internet > Advanced network settings > Network reset. This will remove and reinstall all your network adapters and set other networking components back to their original settings. Your computer will restart, and you will have to re-enter your Wi-Fi password once it boots back up.
Fix your wi-fi adapter and connectivity issues
Sometimes the problem is not the software but the hardware itself. The wi-fi adapter inside your laptop can fail due to heat or physical shock. If you try connecting to a known good network and nothing happens, the internal card might be loose or dead.
One way to test this is to use an Ethernet cable. Plug your laptop directly into the router using an Ethernet cord. If you get instant internet access via the wire, then your computer’s processor and operating system are fine, which confirms the issue is specifically with your wireless hardware. This tells us the problem lies within the Wi-Fi adapter or its drivers.
Another possibility involves the frequency bands. Most modern routers broadcast on two different frequencies: the 2.4 GHz band and the 5 GHz band. The 2.4 GHz band has a longer range but slower speeds, while the 5 GHz band offers much faster speeds but struggles to pass through walls. If your laptop is older, it might not be able to detect the 5 GHz band at all. If you see your network name on your phone but not on your laptop, check if your router is set to only broadcast on the 5 GHz band.
Can’t connect to Wi-Fi? Common questions answered
Why won’t my laptop connect to Wi-Fi when other devices will?
Yes, this happens frequently. If your iPhone or tablet can connect to the Wi-Fi network but your laptop cannot, the issue is local to your machine. This could be caused by an outdated network adapter driver, a disabled wi-fi adapter in settings, or even a conflict with your antivirus software.
Don’t see the Wi-Fi connection at all?
If you don’t see the SSID (network name) appearing in your list, your laptop may not be able to detect the signal. Try moving closer to the router to rule out distance issues. Check if your router is broadcasting on a specific band like 5 GHz or the 2.4 GHz band; some older laptops can only connect to the 2.4 GHz band and will fail to see a 5 GHz band signal.
Did my Wi-Fi password change recently?
If you recently updated your security settings, your laptop might be trying to use an old password. To fix this, go to your wireless settings, select “Forget” on the network, and then try connecting again by entering the new password. Ensure you have the correct encryption key (password) for the Wi-Fi network.
Is my internet service provider (ISP) the problem?
If no devices in your home can connect, the issue might lie with your ISP or your modem. Try to reboot both the modem and the router. If you still lack internet access after a reboot, call your ISP to see if there is a local outage in Centerville.
Can an antivirus or VPN block my connection?
Yes. Sometimes antivirus software or a VPN can create a barrier that prevents your computer from being able to connect to your network. Try to temporarily disable your antivirus or turn off the VPN to see if you can reconnect. If the internet works once they are disabled, you need to adjust your security settings to allow wireless traffic.
Can I connect if I move my device closer to my router?
Yes, distance is a major factor in connectivity issues. If you are in a different room, the signal may be too weak to maintain a stable wi-fi connection. Moving within ten feet of the router is a great way to determine if range is the primary culprit.
Troubleshooting macOS connectivity
Mac users typically face different menu layouts but similar underlying problems. On a MacBook Pro, you can hold the “Option” key and click the Wi-Fi icon in the menu bar to see much more detailed information about your connection, including your IP address and signal strength.
If you are on macOS, try creating a new “Network Location” in System Settings. This essentially resets your network configuration without deleting your files. Sometimes, old configuration files for specific SSIDs become corrupted, preventing the Mac from being able to connect to that specific wireless network again.
Advanced steps to resolve the problem
If you have tried every basic step and still cannot connect to Wi-Fi, we need to look at deeper software conflicts. A common culprit is a “stuck” IP address. Your router assigns your laptop a unique identifier called an IP address so it knows where to send data. If two devices on your network try to claim the same IP address, neither will work.
To fix this, you can manually release and renew your IP address. In Windows, open the Command Prompt again and type ipconfig /release followed by Enter. Then, type ipconfig /renew and press Enter. This forces the router to give your laptop a fresh identity on the network.
Another advanced issue involves the router’s security protocol. Newer routers use WPA3 encryption, which is much more secure than the older WPA2. However, if you have an older laptop from 2015 or earlier, it might not understand how to talk to a WPA3 router. In this case, you would need to log into your router settings and change the security mode to “WPA2/WPA3 Mixed Mode.”
Finally, consider whether your software is interfering. Some third-party firewall applications are much more aggressive than the standard Windows Defender. If you have installed specialized security suites, try disabling them for five minutes to see if your internet access returns.
When to visit a professional repair shop
Sometimes, no amount of troubleshooting will fix the issue. If you have reinstalled your drivers, reset your network settings, and confirmed that your router is working perfectly with other devices, you likely have a hardware failure. A failed Wi-Fi card can be difficult for many users to replace, especially in modern “ultrabook” style laptops where components are soldered directly to the motherboard.
If your laptop simply will not detect any wireless networks even after a factory reset, the internal antenna or the wireless chip itself has likely died. This requires professional tools and precision to fix.
If you are struggling to connect to Wi-Fi on your Windows 10 or 11 machine, bring it to Dayton PC Repair. We can perform a professional diagnostic to determine if your issue is a simple driver conflict or a hardware component that needs replacement.
Dayton PC Repair 264 N. Main Street, Suite C Centerville, OH (937) 660-4819